Turn 2
John continues to fight activation rolls, but works to set up his usual SH "Torrent of Fire" on one flank. In the mean time, his other tank formation decides to test the middle of the Tau formation and comes out much the worse for their efforts. So does the Vyper formation. His Nightwings fail their second activation attempt.
Two turns of activation rolls.

This means that early in the turn, I now have air superiority. So, I set up moves to take advantage of this.
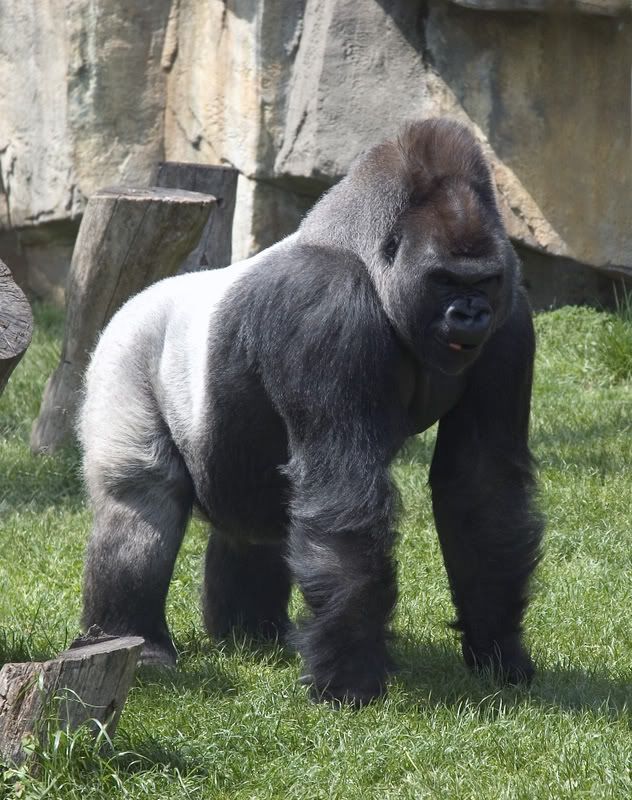
Victorious Allied, er...Tau aircraft roaming the battlefield

By the end of Turn 2, the shop was closing and we had to clean up. All objective were either contested or not in possession by either party, so we were solidly at 0-0 at the end of Turn 2. I fairly certain that in Turn 3 the game was going to go big for either one side or the other.
I had done a pretty decent job of cutting down John's formations, putting him at an activation disadvantage, but (and this is a big one), on the right flank the SH had set up the two large bike formations and one of the Wave Serpent groups to really whack my FW group. There was enough FF in those formations to wipe out my BTS and leave me lacking. A lot of it would have come down to the first few activations to see if I could extricate the FWs and dance away. The downside to that, is that would have left the SH with control of the right side of the board and an easy shot at my Blitz.
So although I had killed off quite a bit, the SH still had enough teeth to cause me some serious damage.
So I would call this game the obvious draw it should be.
Observations:
1. I really liked how the list played. I was always cognizant of where my Recon groups were and trying to preserve them since a lot of firepower is tied to their existence.
2. The 6 ship HH formations seem fragile to me having been used to larger formations, but I think they are workable.
3. The 8 unit SC Crisis formation was a pretty hard hitter, though for some reason I had thought it would handle armor better than infantry, when in reality they are very nasty anti-infantry formations.
4. I used Coordinated Fire once in Turn 2 to eliminate one of the SH tank formations, which brought up an interesting question that I'll post later in the Tau section.
5. I felt very "nekkid" without my Scorpionfish, but got over it. I still think pushing the counters to SHT/WE threats to the Air Caste is the right way to go.
4. I will try the 2/4 Tetras to Piranhas a bit more. As part of the CoFire action, Sustained + ML + 4 Seekers did a pretty good job on the SH Tank formation, allowing the Crisis to come in and do clean up rather handily.
5. I made all of my activations the entire game. John was not so fortunate. I'm not counting on that happening again.
Overall, I think the list worked well, feels a little fragile to me, but I think that just may be due to a lack of familiarity with all the components.
Great game John!


 The first move was messed up as I was trying my BFG Dark Eldar pinwheel maneuver and forgot the you move / I move of EPIC.